Creating Change Requests
Contents
Method One: Creating a Change Request before instigating a transfer
Method Two: Creating a Change Request while instigating a transfer
A change request is the definition of a change that is to be made to the source code managed by Deltanji. It specifies the object versions which are to be changed and the reason for the change. It therefore provides a record of which object versions have been changed in connection with any one task.
Whenever objects are moved between different locations in your Deltanji environment, they must be assigned to a change request. There are two commonly used methods for doing this:
- The first method is to create the change request before adding objects and instigating the transfer. This is the easiest method when you want to transfer multiple objects as part of the change request.
- The second is to instigate an object transfer and then create the change request to complete the transfer. This is the easiest method when transferring just one object, though more objects can be added to the change request at any time if needed.
Method One: Creating a Change Request before instigating a transfer

1. From the menu bar, choose Change Request -> New and a new dialog should appear that looks like this:
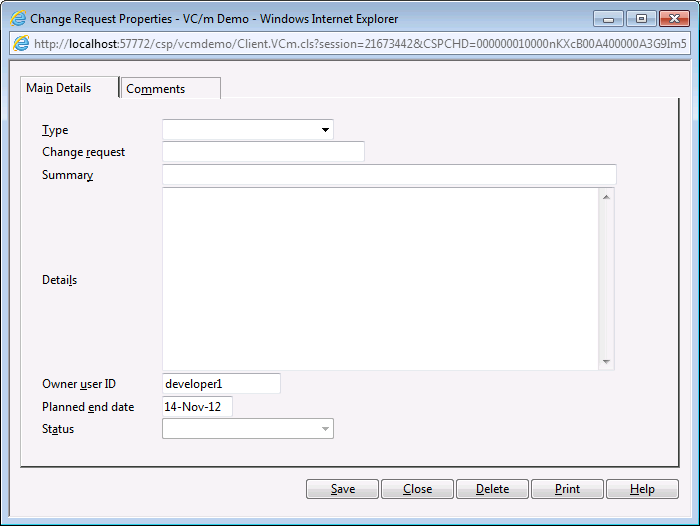
2. Fill in the dialog fields as required.
- Type
- The change request type. These are defined by the system manager upon installation. Change request types may include, for example, DEV for development work or BUG for patching work.
- Change request (code)
- This is a unique idenitifer for the change request. It is common to leave this field blank, because doing so will allow Deltanji to automatically generate a change request code. A change request code needs to conform to the valid naming conventions.
- Summary
- For entering a short description of the changes that will be made.
- Details
- For entering a longer description of the changes that will be made.
- Owner User ID
- The User ID of the user who will be responsible for the change request.
- Planned end date
- The date by which the changes should be completed. This field is useful for generating the change request summary.
- Status
- For defining the status of the change request. This field will be greyed out if the change request type does not have any statuses assigned to it.
- Comments
- For adding further comments about the change request.
3. Click Save. If a change request ID was left undefined, one will be automatically generated now. Click Close.
To view your new change request, click on the Change Request folder in the folders panel. If you can't see your change request, try editing the selection criteria. For example, an empty change request won't be visible by default until the
 Show empty change requests filter button is depressed.
You may now add objects to the change request.
Method Two: Creating a Change Request while instigating a transfer
1. Begin by instigating an transfer. You will be presented with a transfer dialog that should look like this:
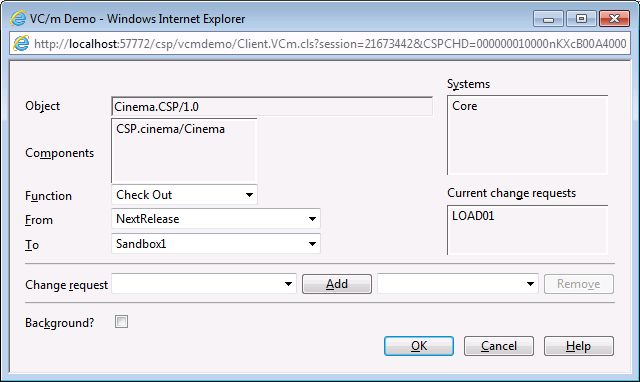
2. From the Change request drop-down box, select the change request type for the new change request and click on the Add button. The change request details dialog should open with the Type field already populated with your choice.
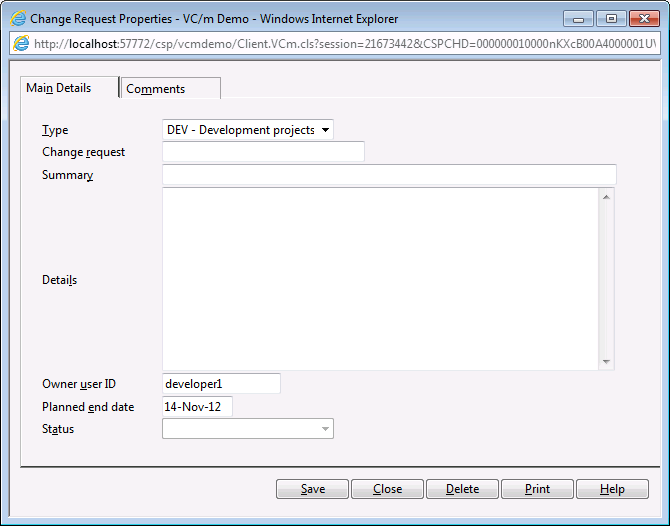
3. Fill in the dialog fields as required.
- Type
- The change request type. These are defined by the system manager upon installation. Change request types may include, for example, DEV for development work or BUG for patching work.
- Change request
- This is a unique idenitifer for the change request. It is common to leave this field blank, because doing so will allow Deltanji to automatically generate a change request code.
- Summary
- For entering a short description of the changes that will be made.
- Details
- For entering a longer description of the changes that will be made.
- Owner User ID
- The User ID of the user who will be responsible for the change request.
- Planned end date
- The date by which the changes should be completed. This field is useful for generating the change request summary.
- Status
- For defining the status of the change request. This field will be greyed out if the change request type does not have any statuses assigned to it.
- Comments
- For adding further comments about the change request.
4. Click Save. If a change request ID was left undefined, one will be automatically generated now. Click Close.
Once you have clicked OK back on the transfer dialog, the object you used to initiate the transfer will be added to the change request and the transfer, if valid, will complete.
See Also: Initiating a Transfer, The Transfer Dialog